
Congratulations on your purchase of the Officially Licensed Sentinels of the Multiverse insert! The SOTM-001 replaces the cardboard insert in your box and provides card and token storage. Construction is relatively easy and only requires about 25 minutes per insert. If you are building more than one, your build time will be reduced once you build your first.
HDF
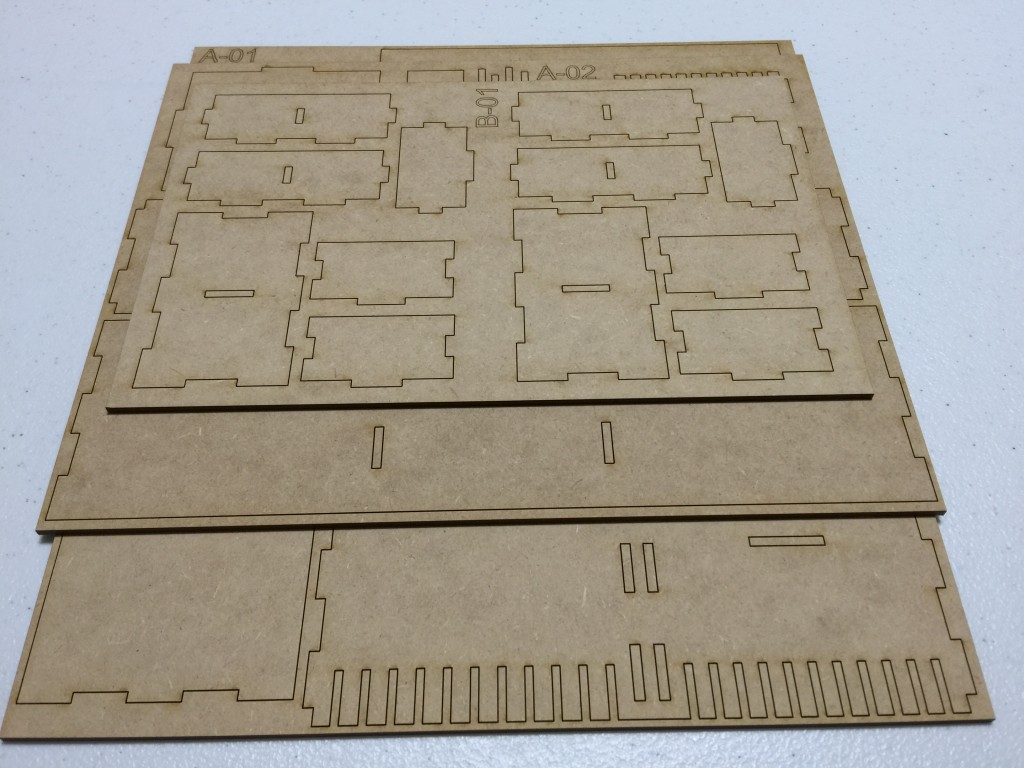
Our inserts are almost always cut using a NAF HDF (our ASB-004 that ships with the EXT-003 chest is cut from Baltic Birch). The HDF we use is formed using a special resin that results in a wood product that is impregnated with polyurethane. This makes the resulting wood heavier than normal HDF, but this HDF contains no added formaldehyde, unlike 99% of the HDF available in the U.S. market. HDF is constructed from tiny wood bits (essentially sawdust) mixed with a resin, and then heat pressed. This results in a very uniform wood sheet that is smooth on both sides and contains no knots or patches. Cutting HDF on the laser is like cutting butter with a warm knife. It is the ideal material to cut! However, keep in mind that all wood sheet products of this type do experience some color variation. This typically manifests as slightly darker splotches a millimeter or two in size here and there on the surface of the wood. This is normal.
Glue
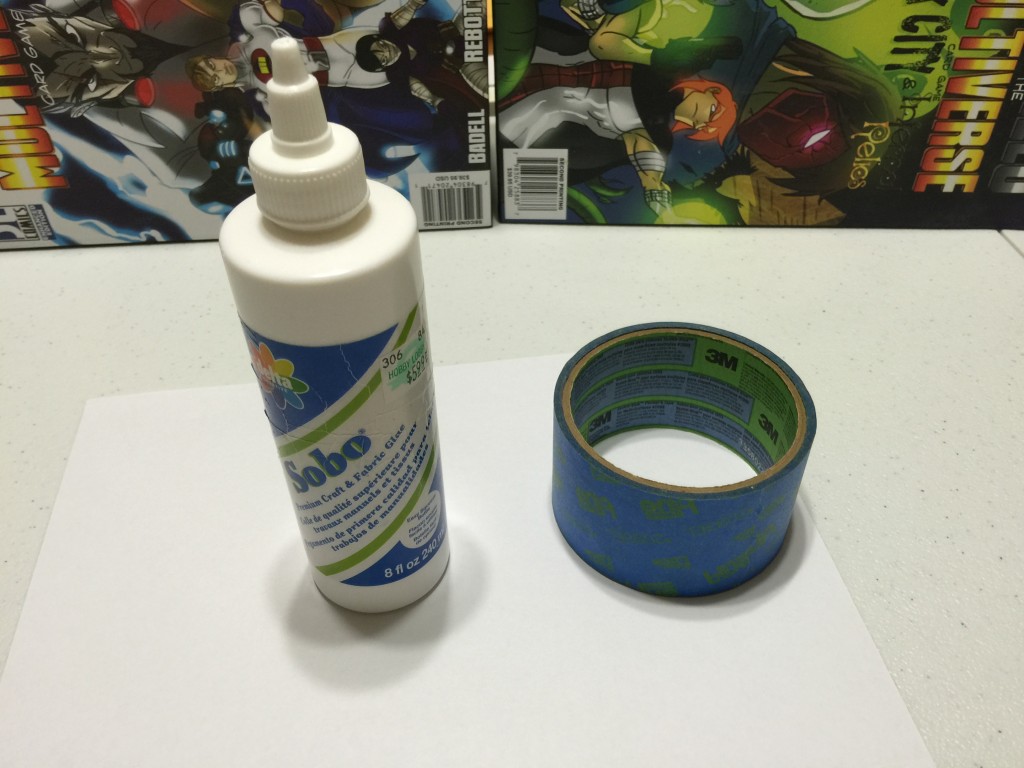
Everyone has a favorite glue. Mine is Sobo Craft Glue. When building inserts, you want a thick, tacky white glue that sets quickly and dries clear, allowing you to continue building and not hold pieces while waiting for them to bond together. You don’t have to use Sobo, but you should use a tacky glue if possible. It will make the experience almost effortless. Also, we ship our inserts with the small bits of wood still present in the finger joint cutouts and in the case of the SOTM-001 insert, we provide some longer glue sticks and a glue cleanup square.
This is so that you will have some handy glue sticks to clean up your joints as you work. You should save the larger bits of wood and use them to clean up the blobs of glue that will appear as you join the wood together.
Painter’s Tape (Blue)
While a tacky glue makes construction easy, some blue painter’s tape will really help with the corner joins. You can just hold the pieces together for 30 seconds to a couple of minutes, but painter’s tape will do the job for you and a roll can purchased for just a few dollars in any home improvement store. Painter’s tape is ideal because the adhesive used is strong, but not too strong. Stronger adhesives can damage wood surfaces or leave adhesive behind.
Work Area
A good work area will make your construction project quick and orderly. You don’t need much space – maybe a 24″x 24″ area. I like to lay some printer paper down on my work surface and I place an extra piece of paper to the side to act as a glue collection area as I use the glue sticks to clean up my joints.
Sanding
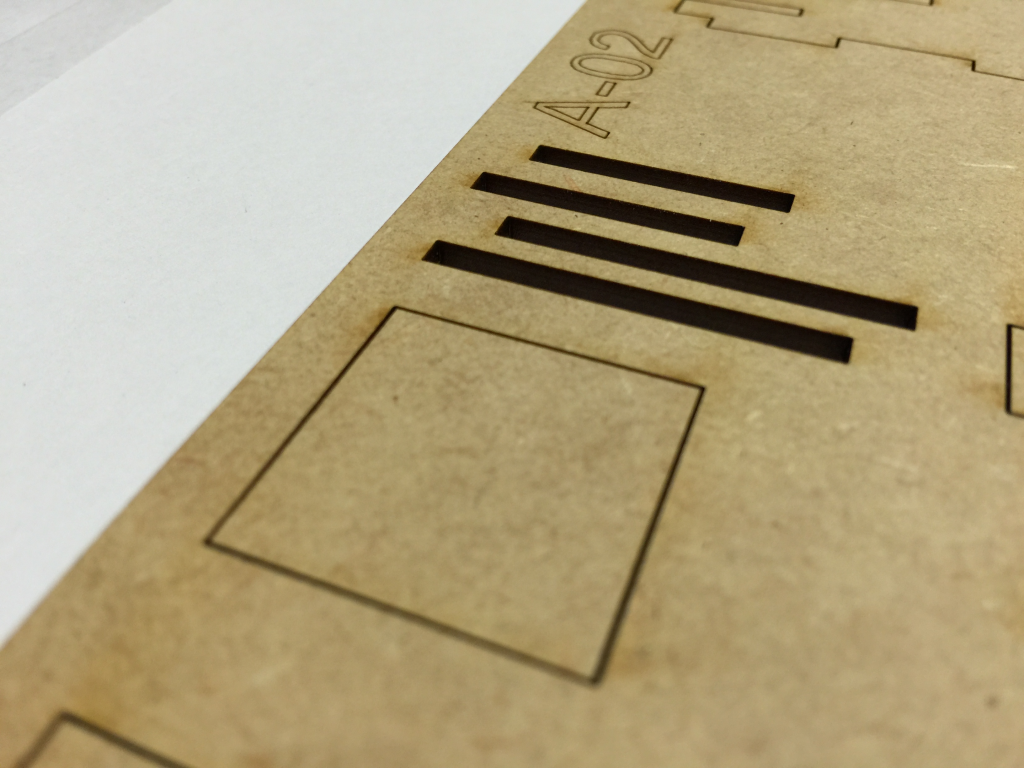
You have the option of sanding the pieces of your new insert. We cut our inserts using a custom lamella arrangement to reduce laser flashback on the lower surface of the wood, and we use a nose cone that provides low-pressure air assist to reduce the amount of “browning” around the cuts, but some browning and flashback are unavoidable. If you do choose to sand the pieces, use a 320 grit sandpaper and hand sand the pieces. A very light sanding will remove any “browning.”
Painting/Finishing
We don’t recommend that you paint or finish your insert as this may interfere with the placement of the dividers. They are sized to fit snugly in the lanes of your new insert. The addition of paint will likely make it very hard to place them properly. Staining will generally work, but may require that you then sand your pieces. If you decide to stain, I would recommend you stain both sides of each plate, allow to dry, and then remove the pieces from the frames. Finishing in polyurethane is very tricky with inserts that have divider slots. The polyurethane can get into those divider slots and cause problems.
Handle with Care
You should always use care when punching your pieces out of the frames. This is especially important when punching lane rails that have many slots for dividers. The HDF is tough, but applying a large amount of force is not recommended. Use a front and back punching motion to free pieces from the frame. Our inserts are designed to be punched from the containing frames without the use of a knife to assist.
Dry Fitting
Before you start glueing things, you should layout the pieces and dry fit them so you have a good understanding of how they go together. This is Golden Rule #1. This will help you avoid mistakes such as glueing the wrong side of a piece. Once you dry fit your insert, you can lay the pieces out in their approximate positions as a reminder of what goes where. It helps! When we produce an insert, we produce the entire box from the same sheet of wood to ensure that color and finish match.
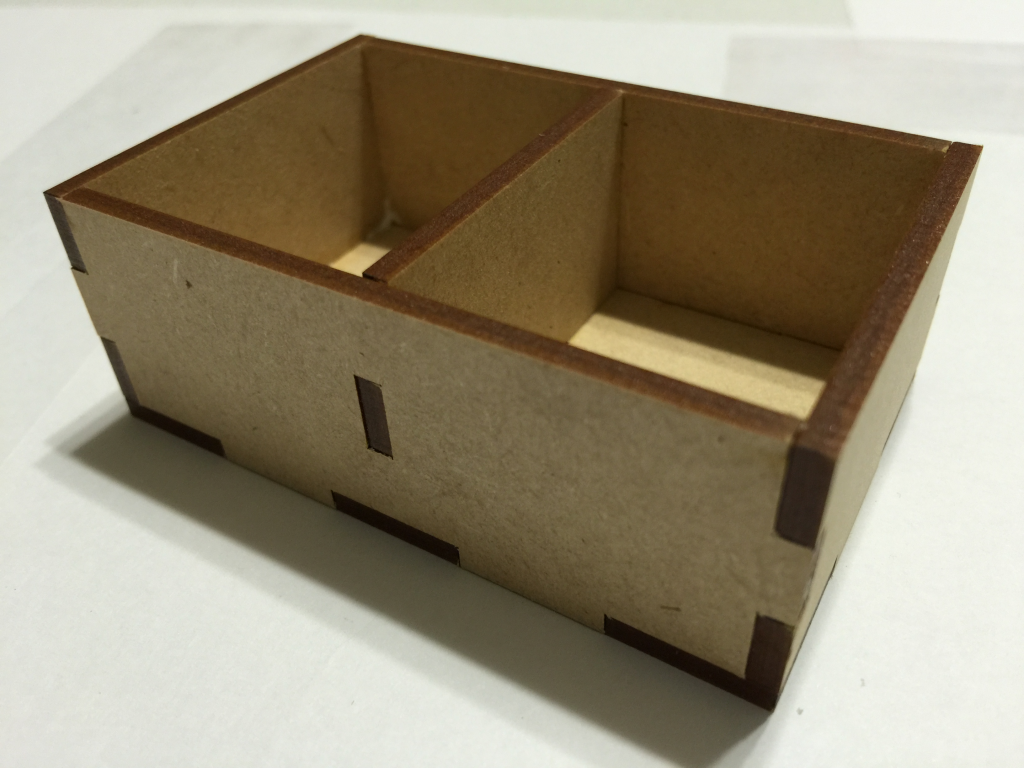
Constructing the Trays
Your SOTM-001 insert provides two trays to store the round tokens with the game. Let’s build the trays and then set them aside and let them dry a bit. The tray parts are all contained on the B-01 frame.
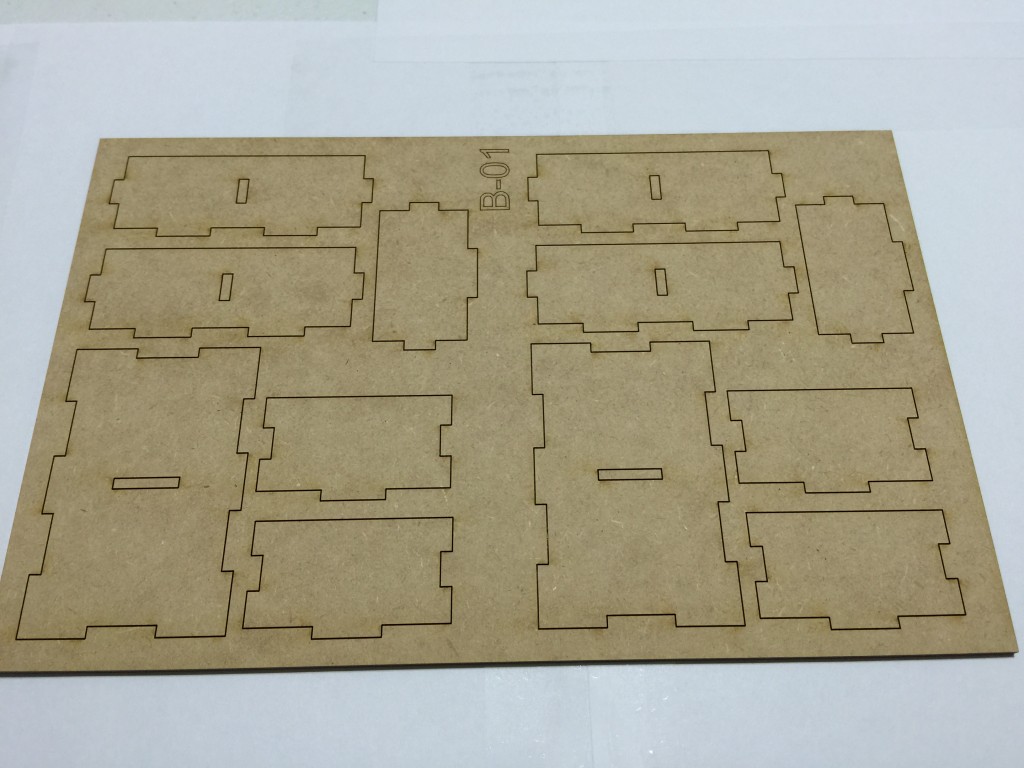
First, a quick dry fit.
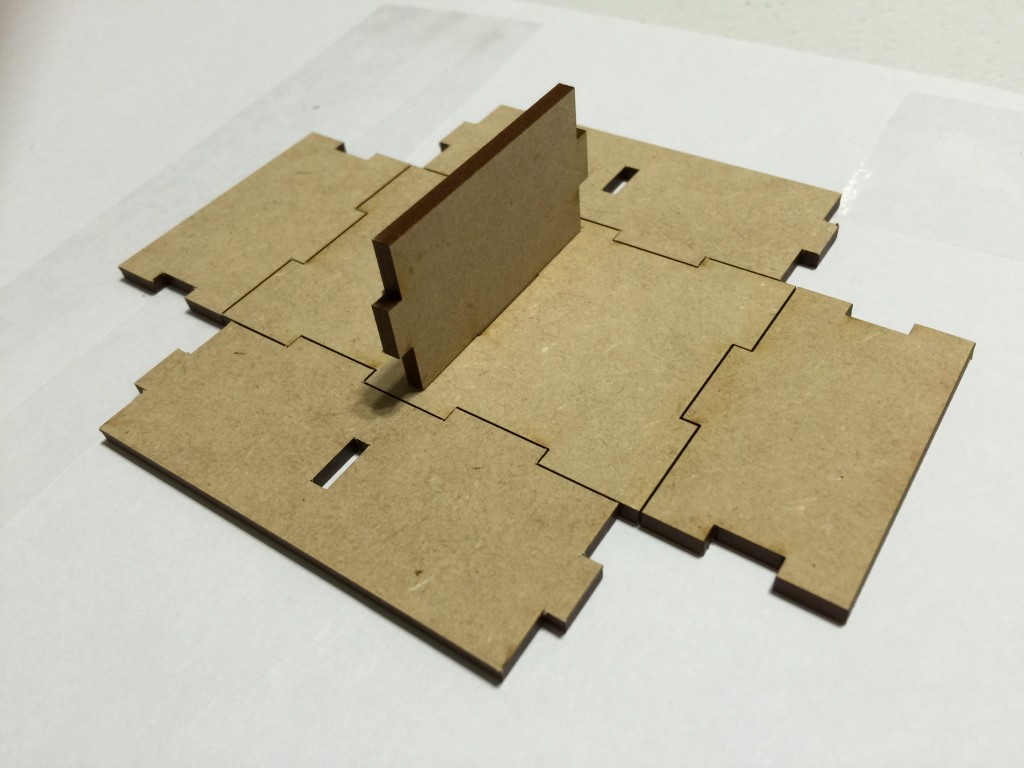
Now that you know how the tray goes together, let’s get to building.
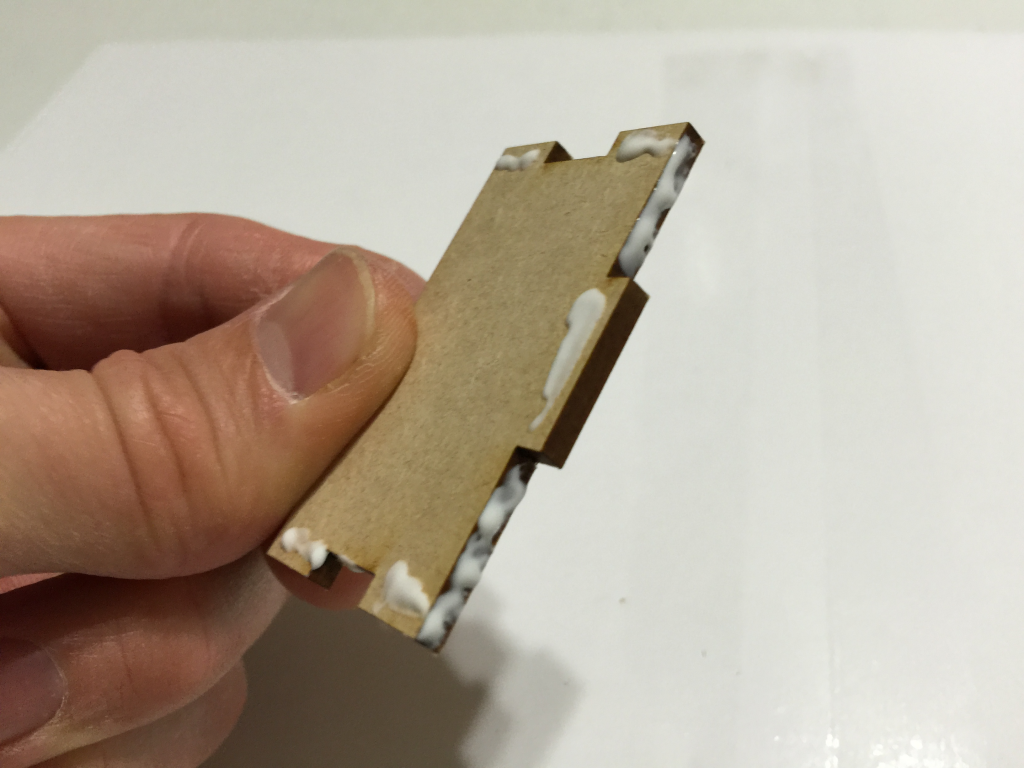
Place some glue on the bottom tab of the center divider for the tray and then place the piece and cleanup excess glue (this part is always assumed once you place a piece.)
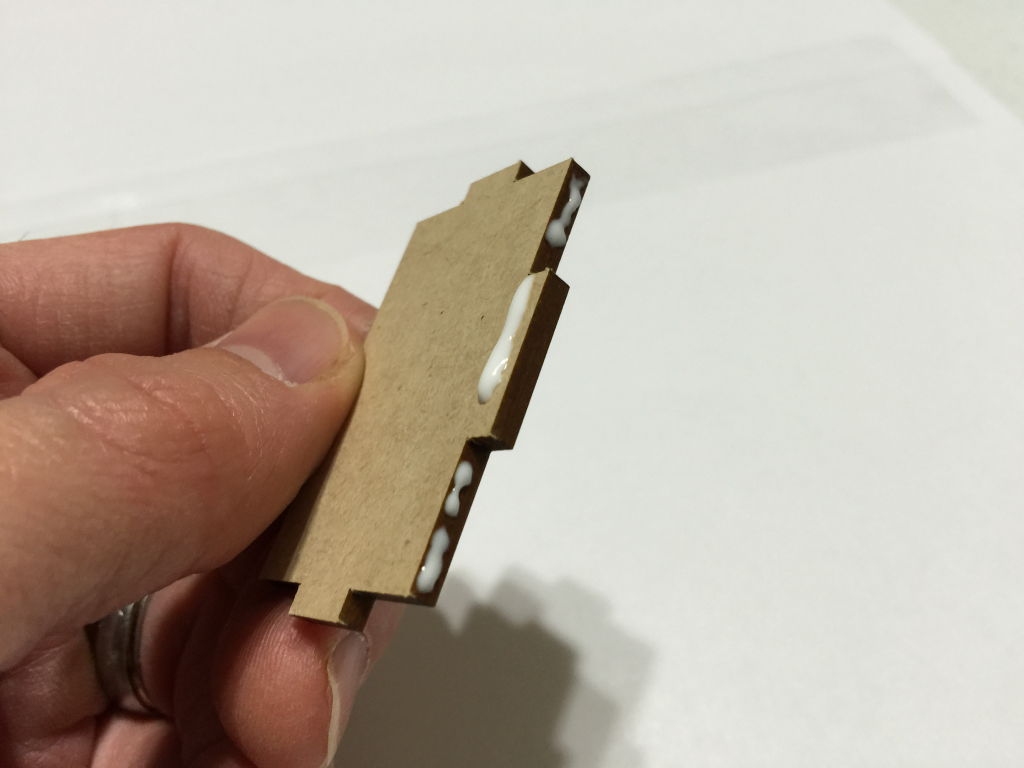
Next, apply some glue to the end of the divider you just placed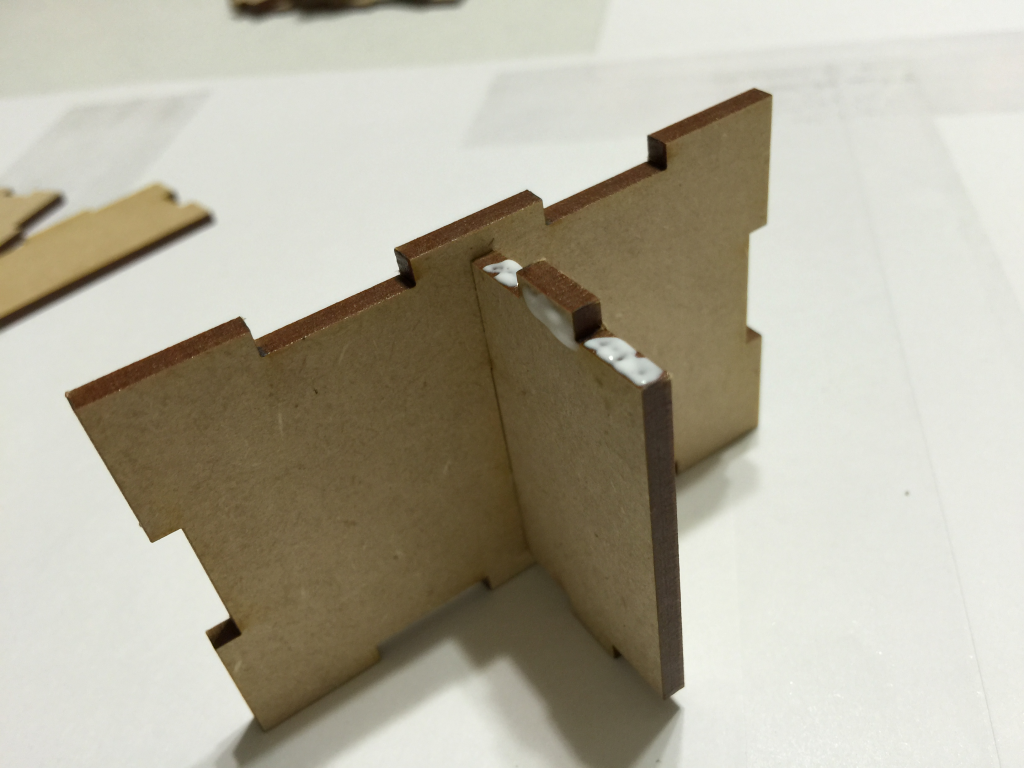
and then place glue on the bottom of one of the side pieces and connect it to the base and divider. Do this again on the other side.
Finally, place glue on the end pieces and complete the tray.
Once complete, build the second tray in the same manner.
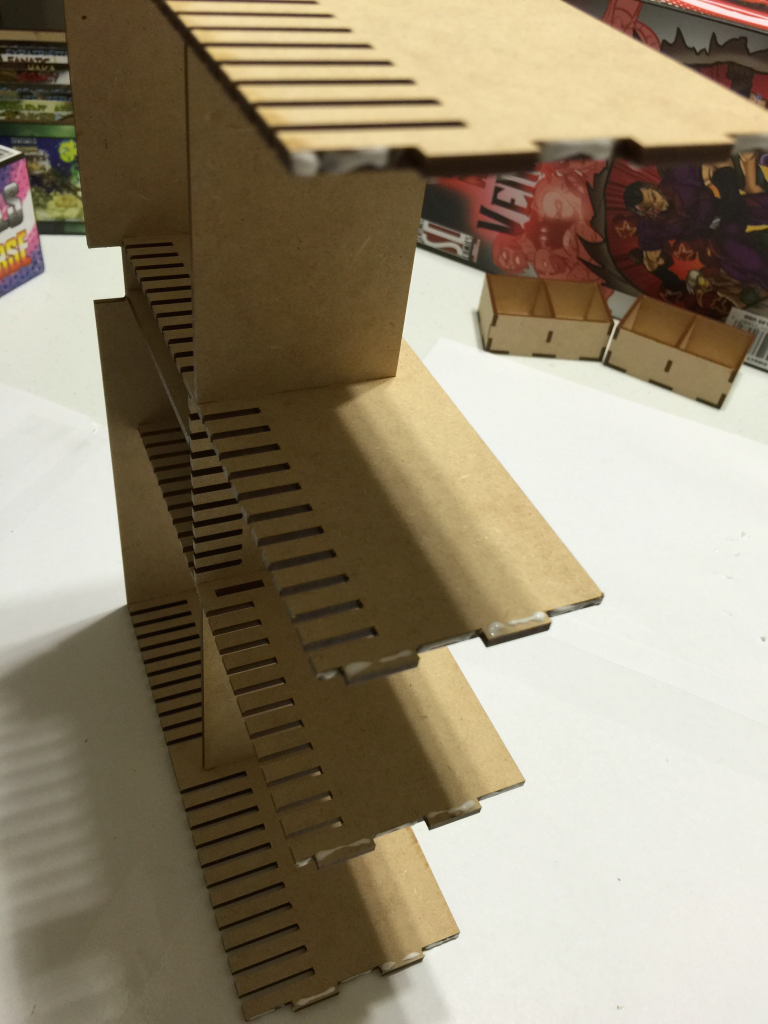
Remove the Pieces from the Other Two Frames
You can now set aside your trays and go ahead and punch out the pieces for the main insert from the two remaining frames.
Build from the Outside In
If you have ever constructed one of our more traditional inserts for card storage, you know that Golden Rule #2 is build from the inside out. Well, that only applies if the insert has a base or bottom. The SOTM-001 insert does not have a bottom to allow for the use of the dividers that GTG ships with the game and to allow for all sizes of sleeves. So, for this insert, we will build from the outside in.
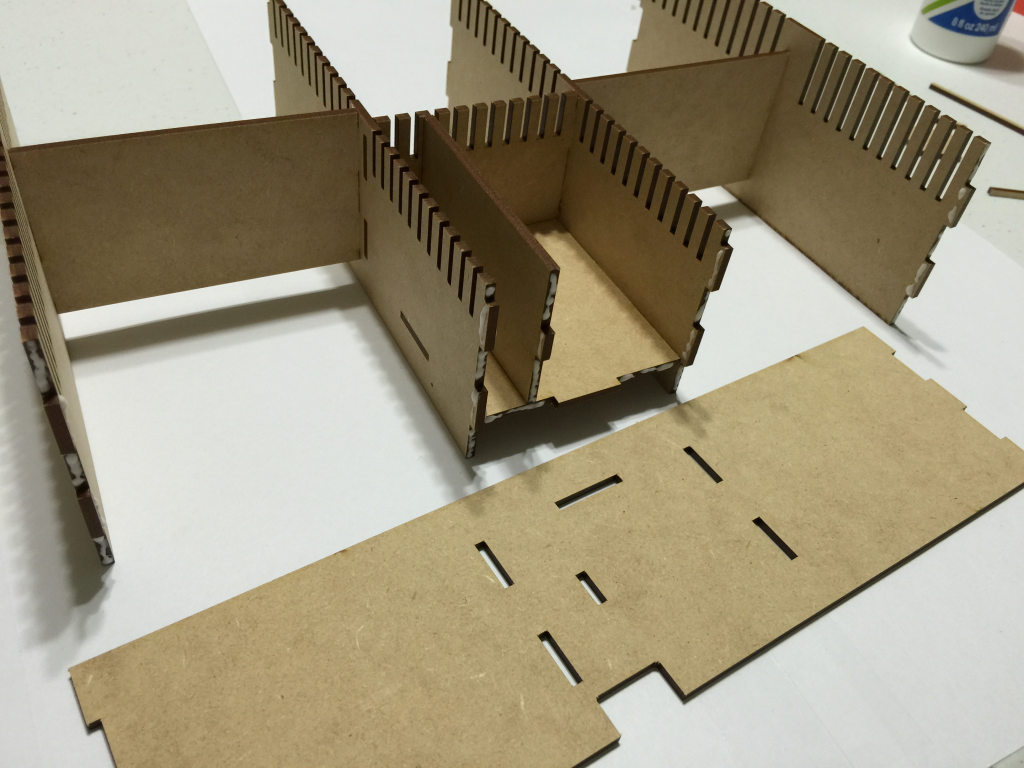
Outer Walls
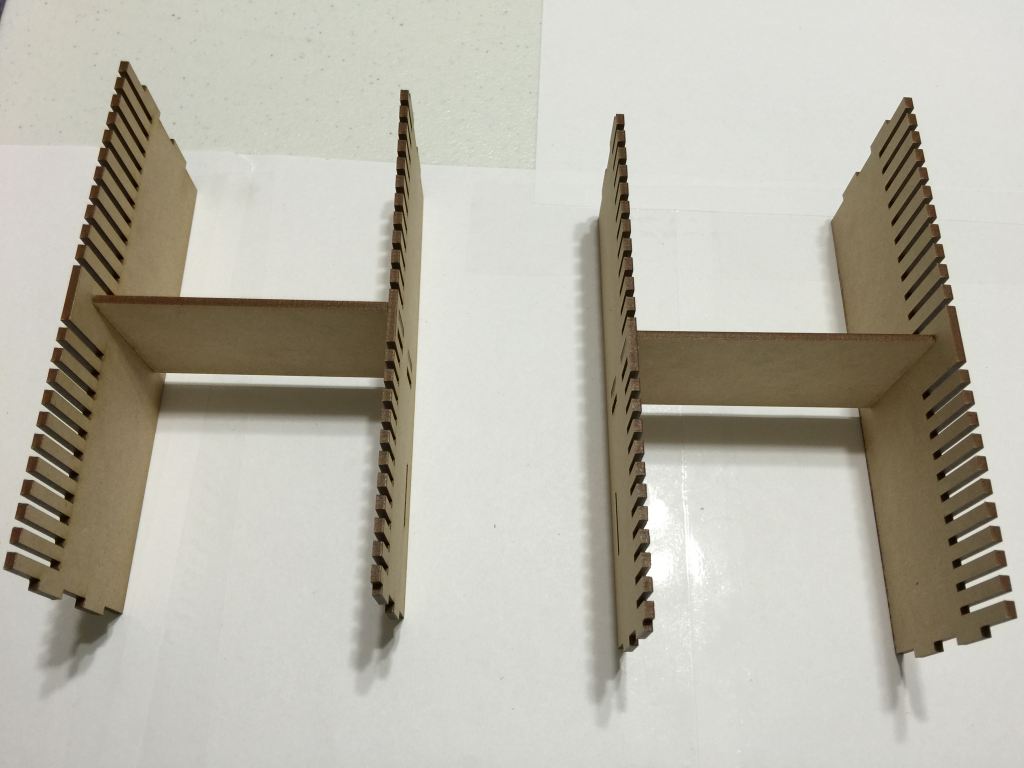
The first thing to do is build the two outer wall pieces for the main insert. You will end up with two “H” parts.
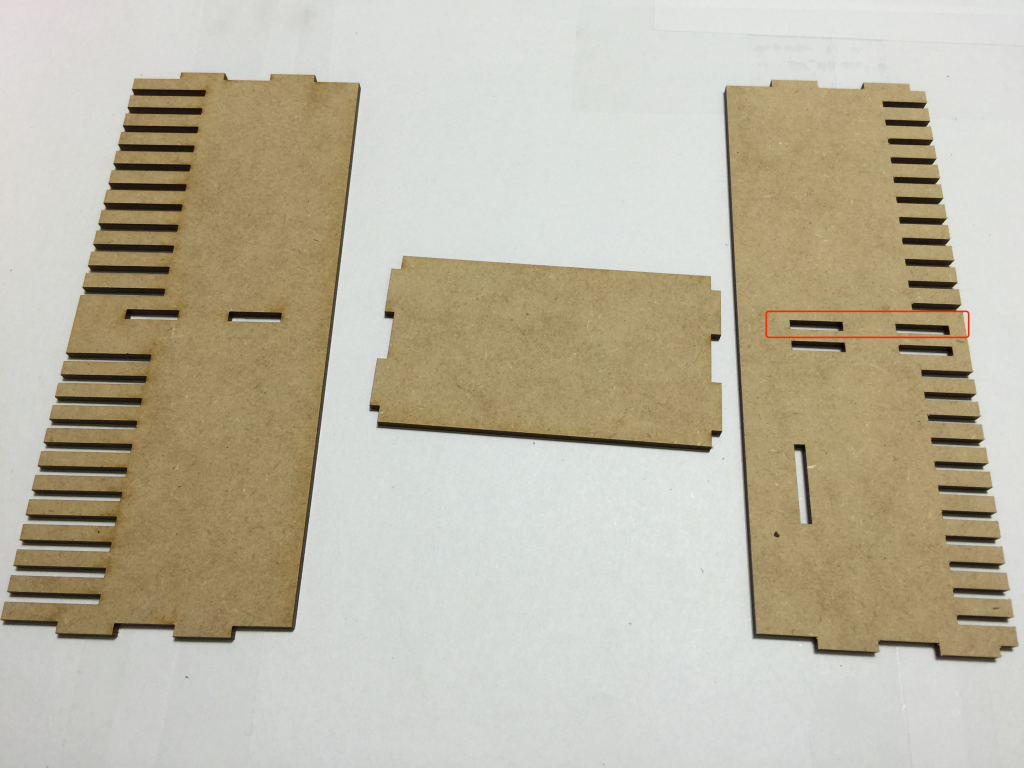
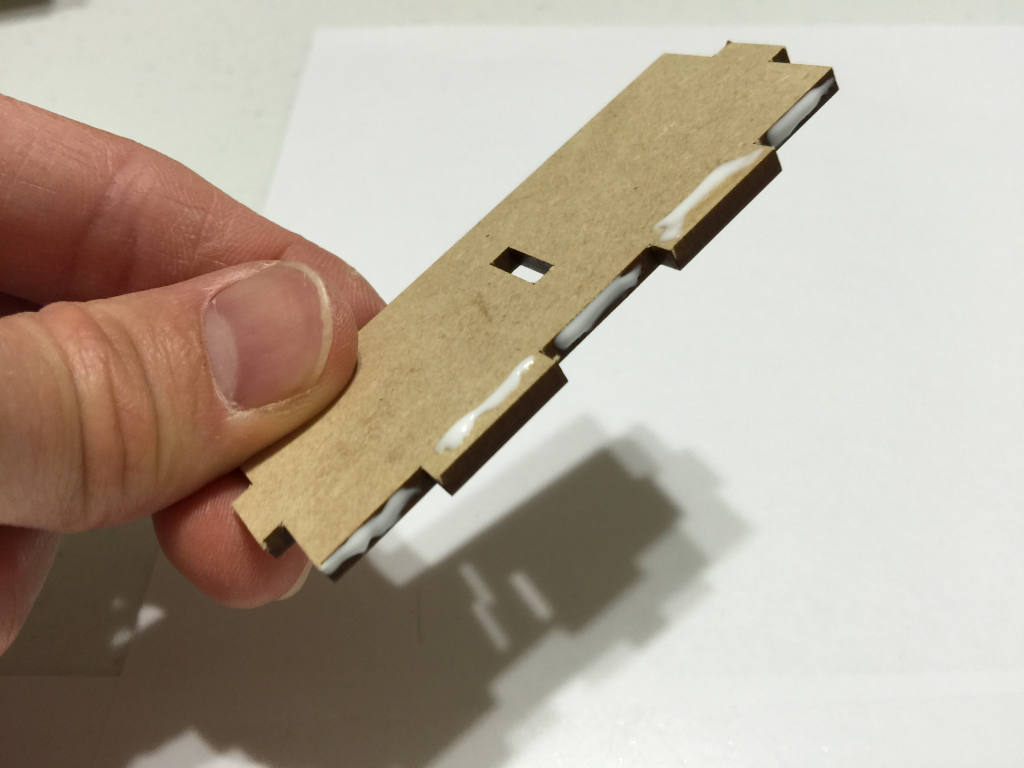
Place glue on the ends of the smaller piece that will join the two rails. Note that the piece with the deeper divider slots goes to the outside of the insert and the center connecting piece should be placed in the rear slots of the inner rail (in red above).
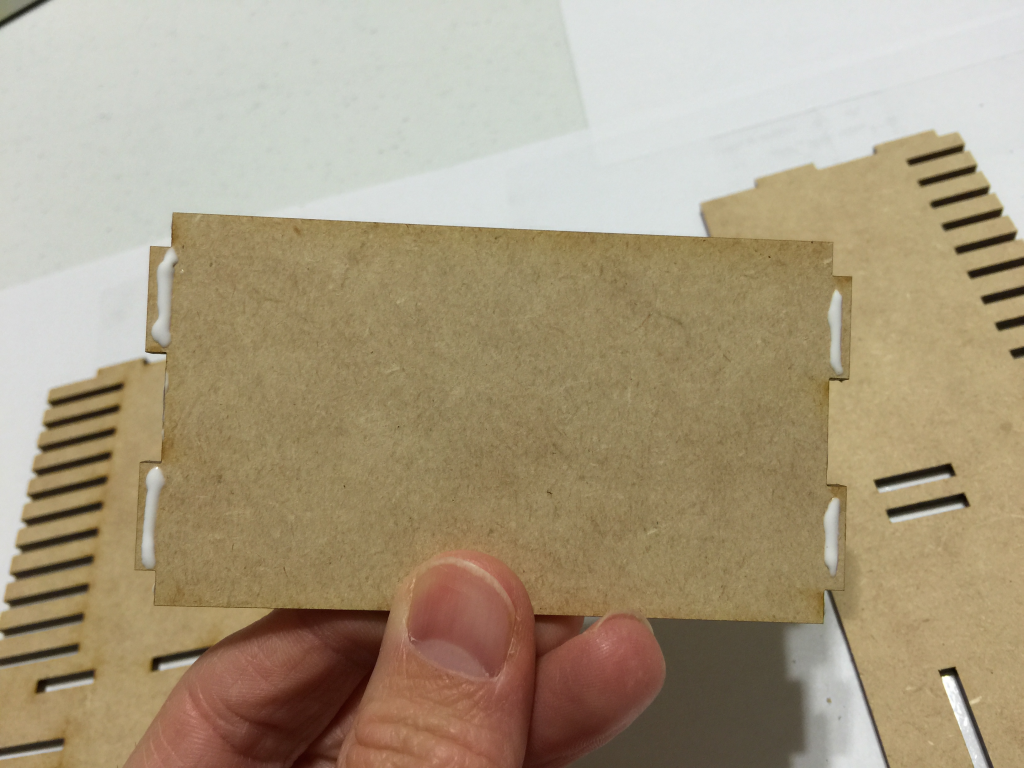
Join the three pieces.
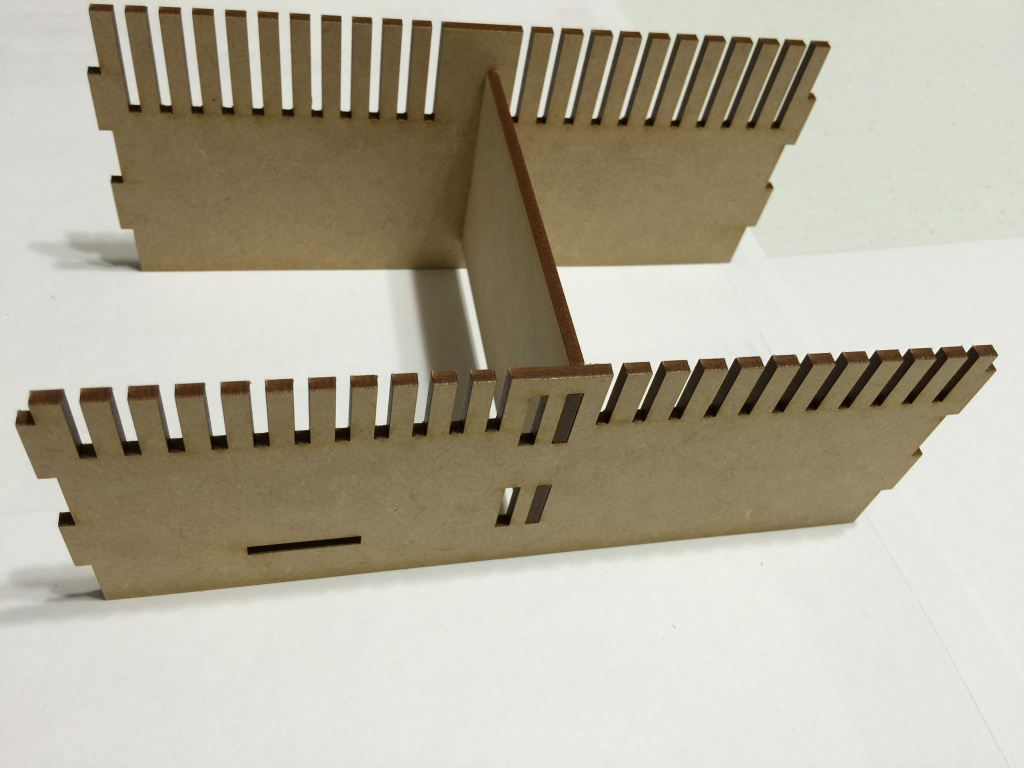
Note the placement of the center part carefully for the left side of the main insert.
Next, build the right side essentially mirroring the construction of the left side.
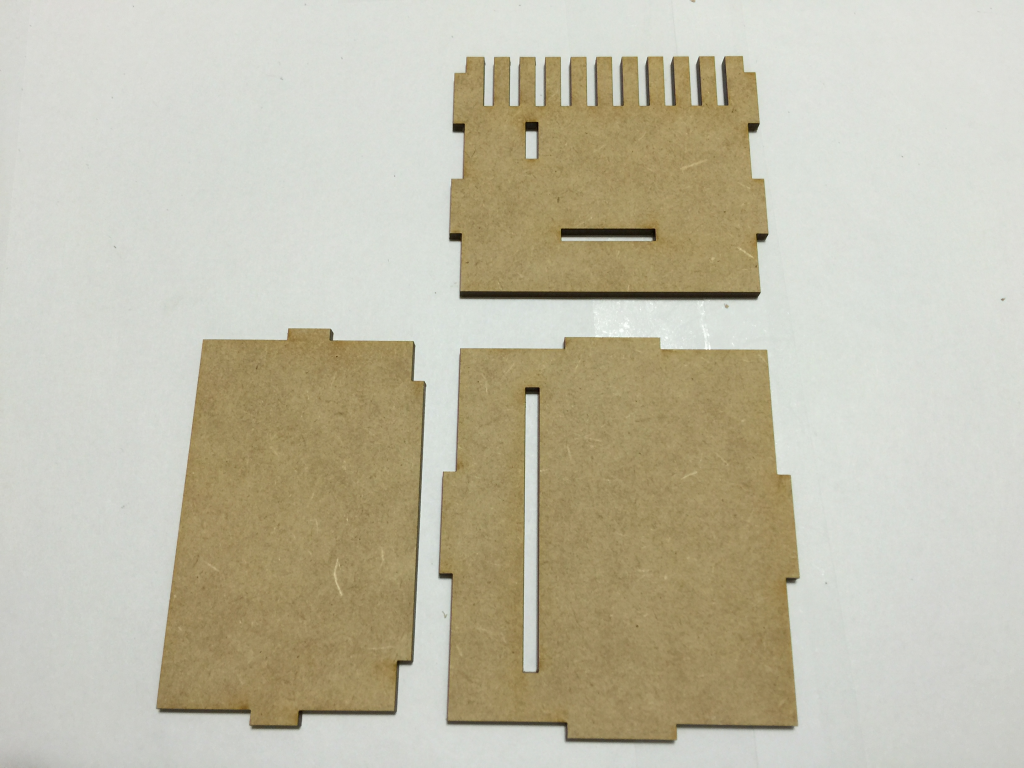
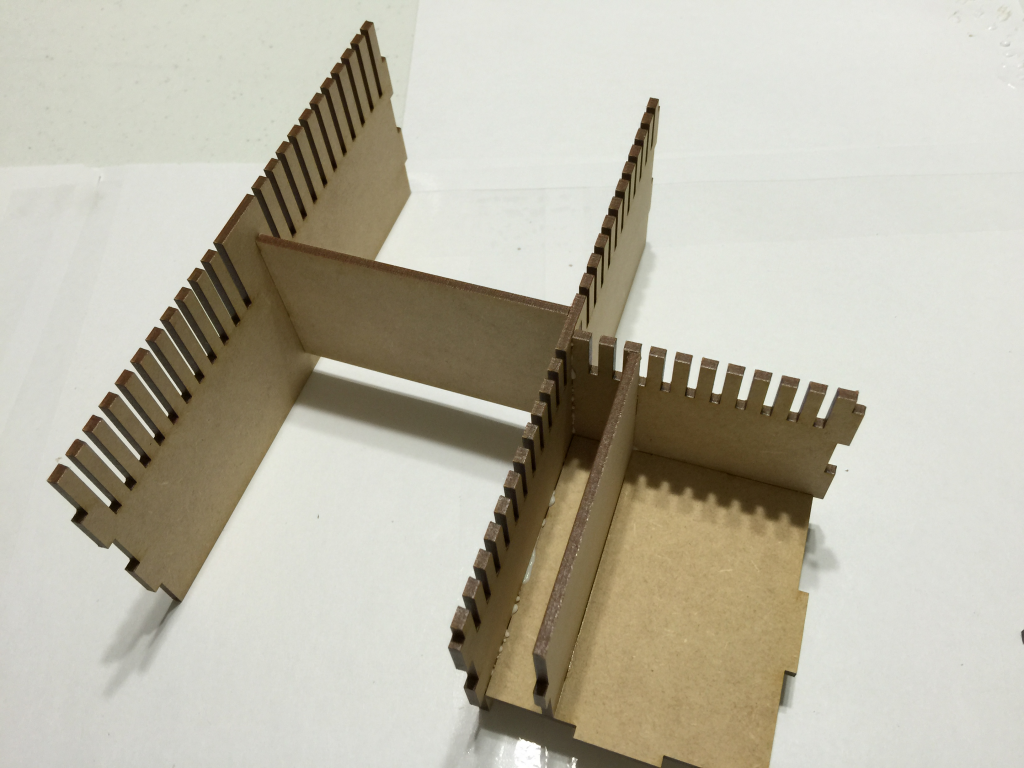
Excellent, next let’s construct the tray compartment. Lay out the three pieces used to build the tray compartment.
Glue the bottom of the divider piece and place it.

Next, place glue on the rear notches.
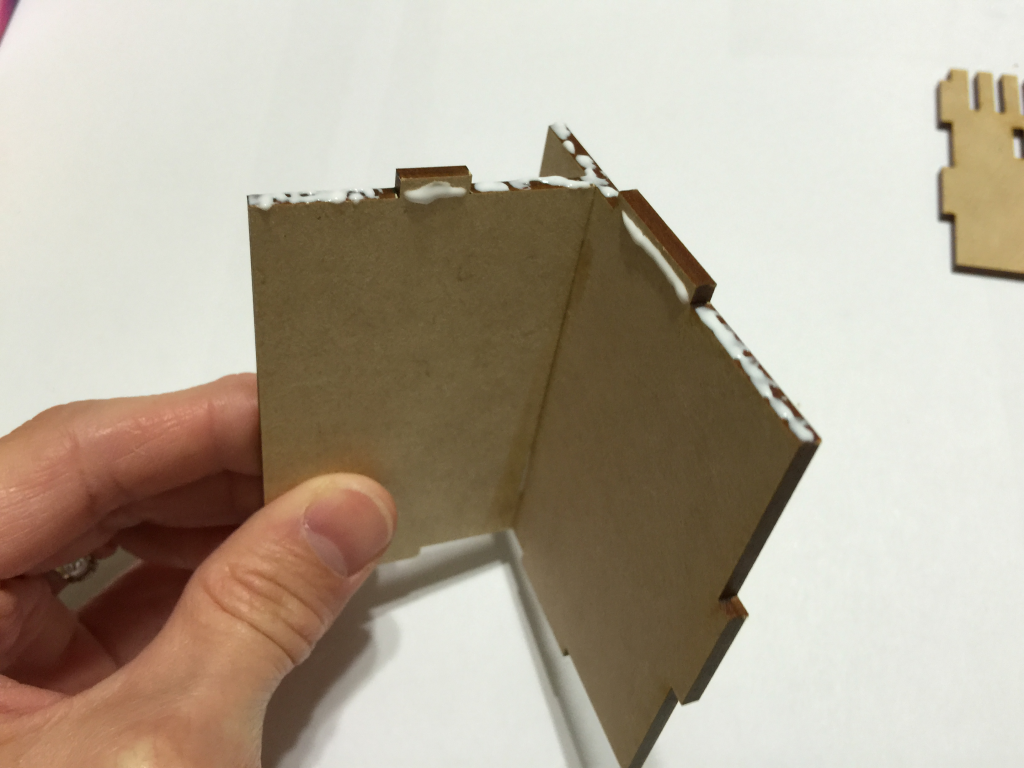
Finally, place the rear wall on the compartment and cleanup the glue. It’s important that the tray compartment be very clean with respect to glue, so that the trays will slide in and out with no problems.

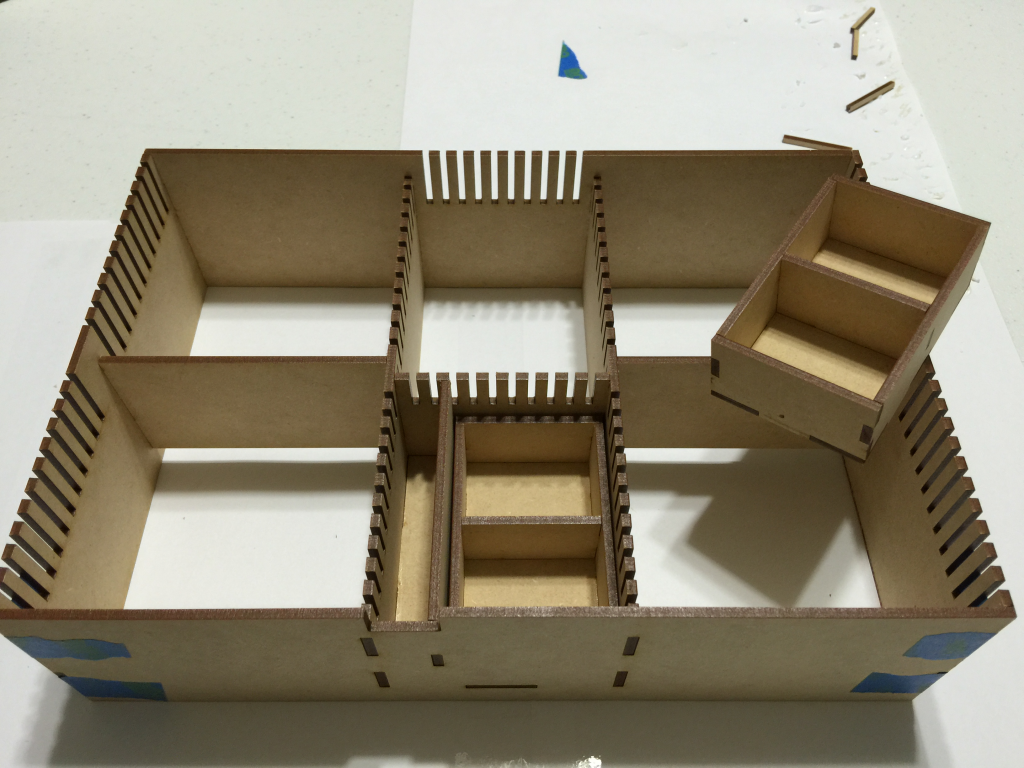
Now, place glue on the left side of the compartment (the side with the small token storage area).
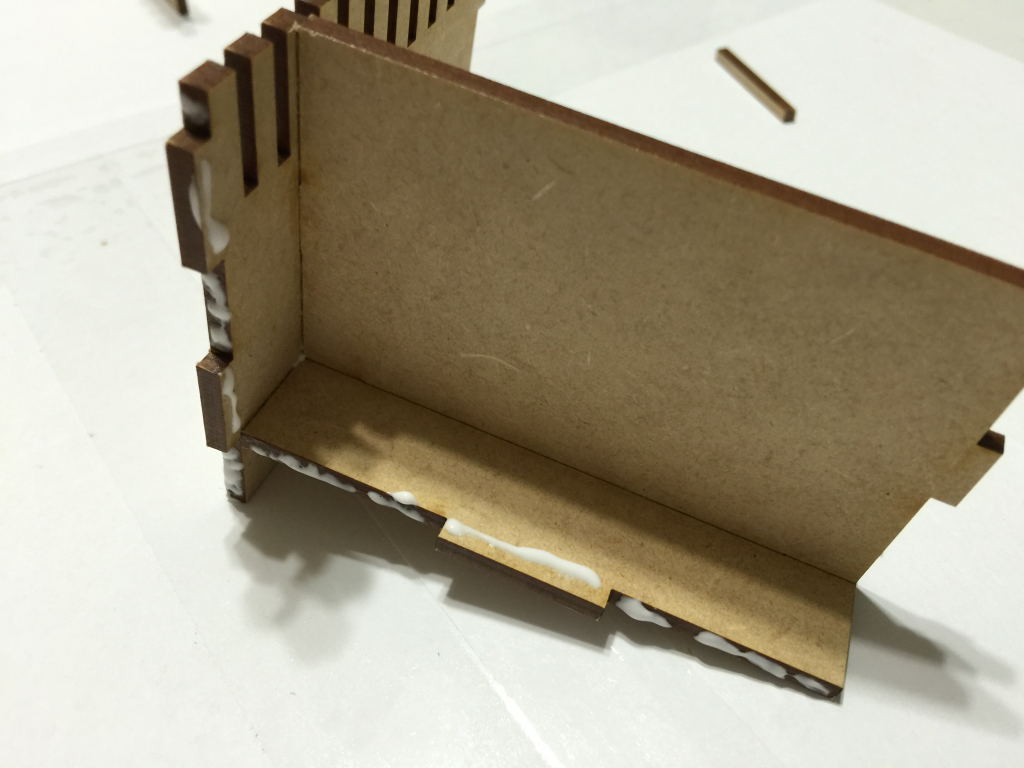
Connect the compartment to the left side of the insert.
Don’t forget to cleanup the excess glue!
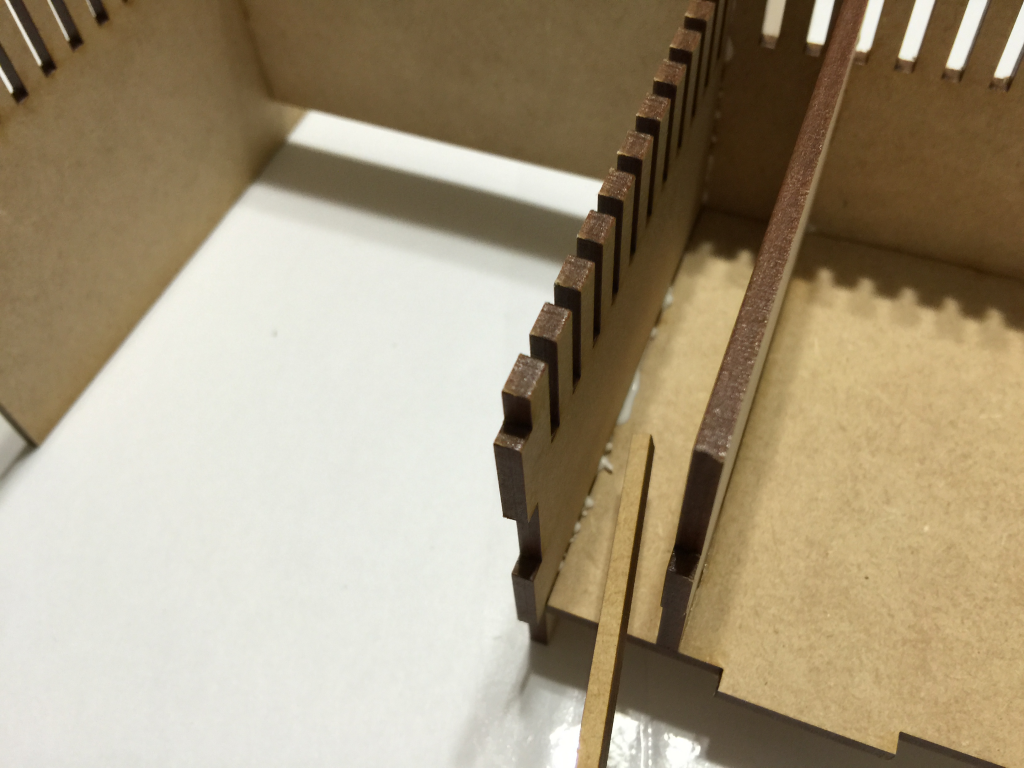
Next, glue the right side of the compartment and connect that side of the compartment to the right side of the insert. Almost done!
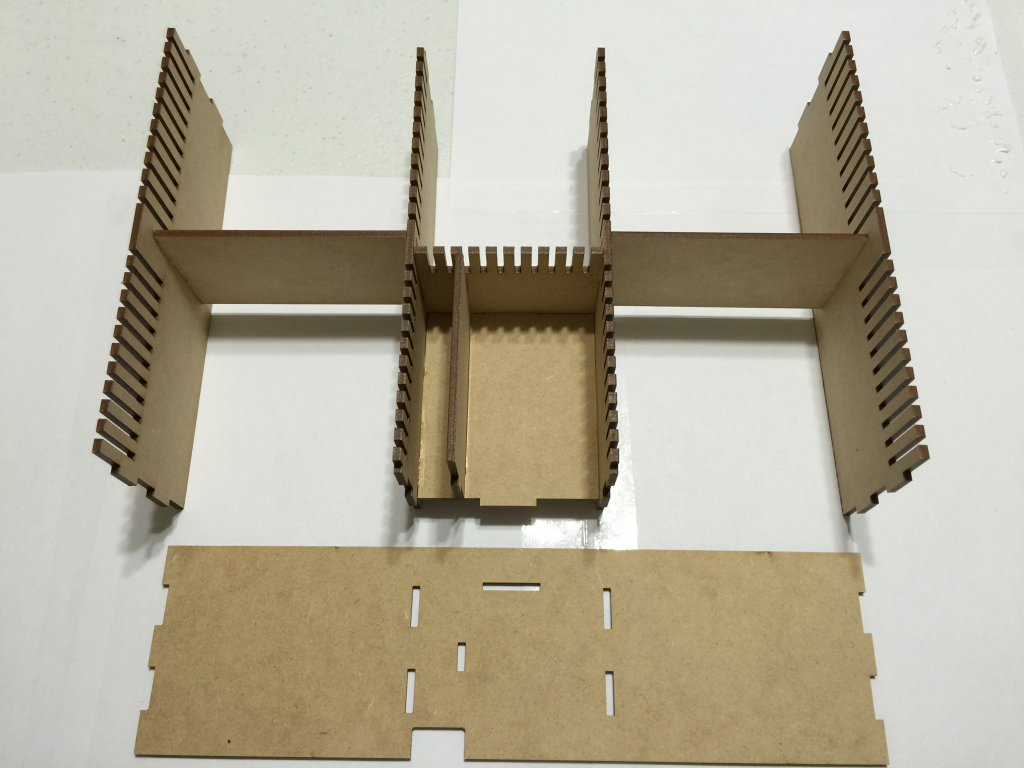
Now let’s connect the front outer wall of the insert (see above). Place glue on the inner portions of the wall and place some glue on the notches of the compartment.
Place the front outer wall on the insert. Optionally, once you cleanup excess glue, you can use some painter’s tape to secure the corners.
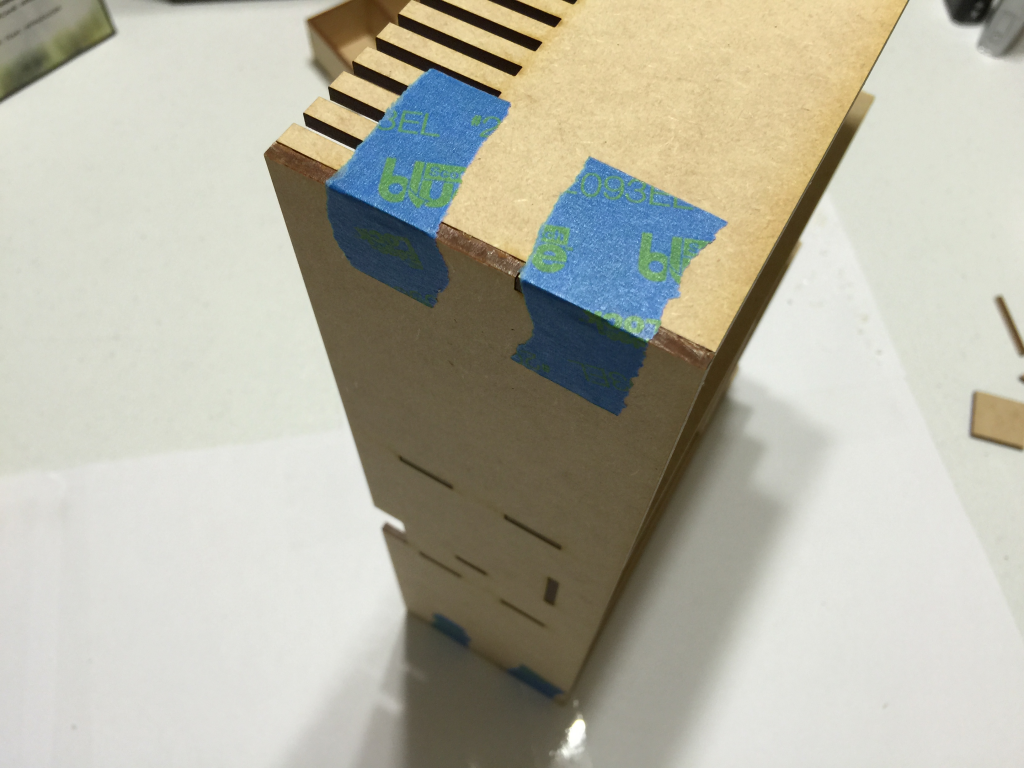
Next, place glue on the rear rail notches and the rear wall of the insert and attach. Tape optional.
 At this point, you will want to test the tray insertion and removal to make sure the glue was properly cleared. You can always apply some 200+ grit sandpaper if you experience rough tray insertion/removal.
Finally, carefully strip out the factory insert in your box. Don’t worry, no one will ever see that…
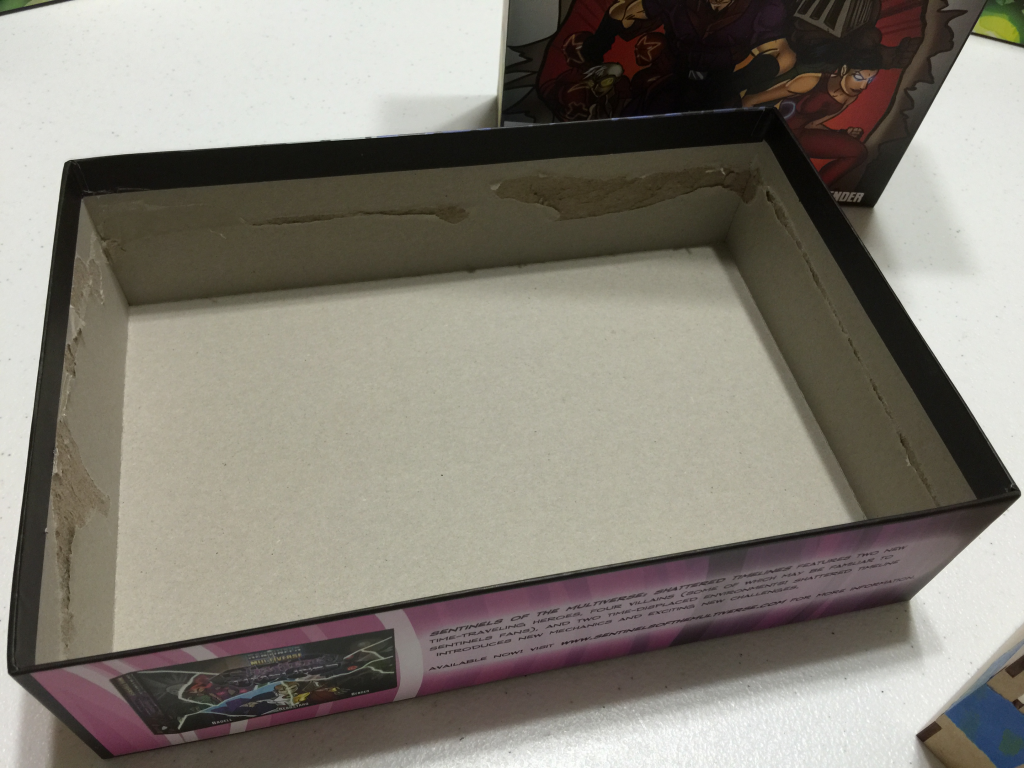
Placing the Insert
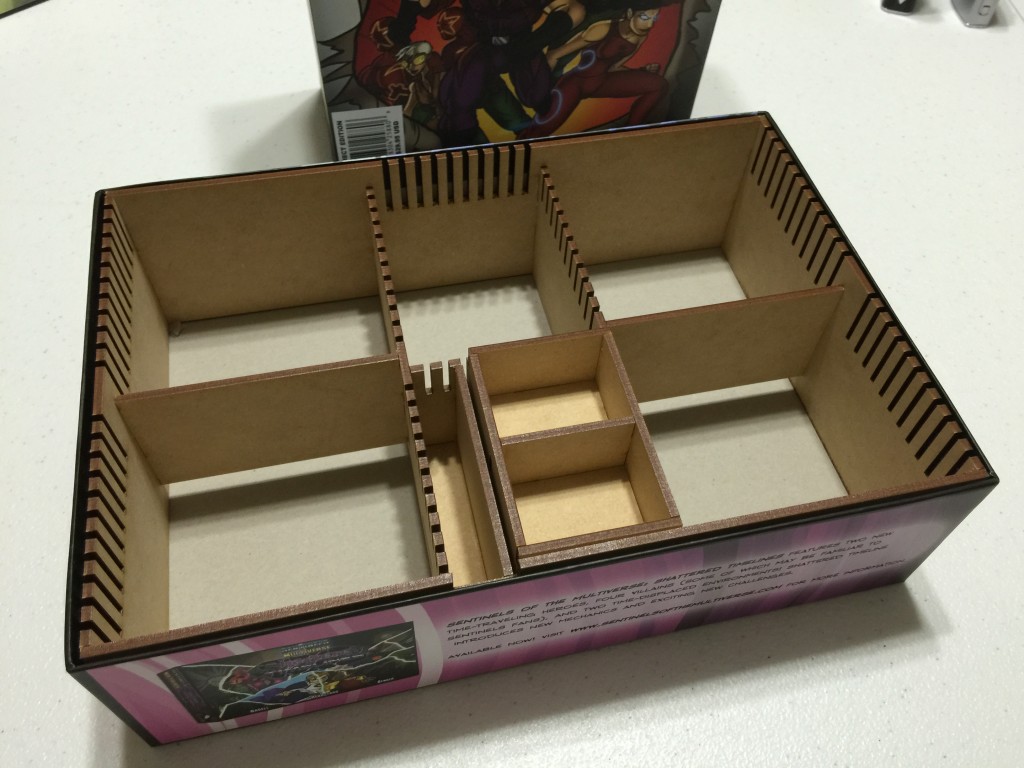
Once your glue has had some time to dry (I usually wait overnight), slowly and carefully slide the insert into the bottom of the box. Your finished insert should be square and have uniform walls.
If the insert is obviously larger than the box, don’t force as this will split the corners of the box. Our inserts are designed to fit snugly into various manufacturer’s boxes, but sometimes a manufacturer may change the box design. Be mindful of this possibility.
Sometimes, the printed paper that wraps around the outside of the box and into the inside of the box will provide resistance. Gentle, but firm pressure applied to each side of the insert, in turn, will slowly slide your new insert into the box.
All done! Now load your insert with cards and tokens and get to playing. I keep my oversized SOTM cards on top of my inserts in a couple of boxes and I keep the rules on top of the insert in my third box.