Go7 produces a wide variety of storage solutions to help store your games and game bits, however, most require some white glue and construction. Don’t worry, most of our kits are very easy to put together. Once you’re done, you will have a sweet new home for your game bits! Please note: You should drop the bottom of the insert into your intended game box first to ensure that the insert will fit properly. You should do this before constructing the insert.
These instructions are specifically for the LGC-001, however they apply to all of our simpler card-oriented inserts.
Video
Rodney over at Watch It Played has done a wonderful insert construction video for the LGC-001 insert that will walk you through the finer points of constructing one of our inserts. While he built a LGC-001, his walkthrough applies to any of our internal game box inserts.
HDF
Our inserts are almost always cut using a NAF HDF. The HDF we use is formed using a special resin that results in a wood product that is impregnated with polyurethane. This makes the resulting wood heavier than normal HDF, but this HDF contains no added formaldehyde, unlike most of the HDF available in the U.S. market. HDF, unlike natural plywoods, is constructed from tiny wood bits mixed with a resin, and then heat pressed. This results in a very uniform wood sheet that is smooth on both sides and contains no knots or patches. Cutting HDF on the laser is like cutting butter with a warm knife. It is the ideal material to cut! However, keep in mind that all wood sheet products of this type do experience some color variation. This typically manifests as slightly darker splotches a millimeter or two in size here and there on the surface of the wood. This is normal.
Glue
Everyone has a favorite glue. Mine is Sobo Craft Glue. When building inserts, you want a thick, tacky white glue that sets quickly and dries clear, allowing you to continue building and not hold pieces, while waiting for them to bond together. You don’t have to use Sobo, but you should use a tacky glue if possible. It will make the experience almost effortless. Also, we ship our inserts with the small bits of wood still present in the finger joint cutouts. This is so that you will have some handy glue sticks to clean up your joints as you work. You should save the larger bits of wood and use them to clean up the blobs of glue that will appear as you join the wood together.
Work Area
A good work area will make your construction project quick and orderly. You don’t need much space – maybe a 24″x 24″ area. I like to lay some printer paper down on my work surface and I place an extra piece of paper to the side to act as a glue collection area as I use the glue sticks to clean up my joints.
Sanding
You have the option of sanding the pieces of your new insert. We cut our inserts using a custom lamella arrangement to reduce laser flashback on the lower surface of the wood and we use a nose cone that provides low-pressure air assist to reduce the amount of “browning” around the cuts, but some browning and flashback are unavoidable. If you do choose to sand the pieces, use a 320 grit sandpaper and hand sand the pieces. A very light sanding will remove any laser marks.
Painting/Finishing
We don’t recommend that you paint or finish your insert as this may interfere with the placement of the dividers. They are sized to fit snugly in the lanes of your new insert. The addition of paint will likely make it very hard to place them properly.
Handle Small Pieces with Care
Small thin pieces such as the handles that ship with the PUZZ-001 insert should be handled with care. Standard lane walls are plenty tough and don’t require special care.
Dry Fitting
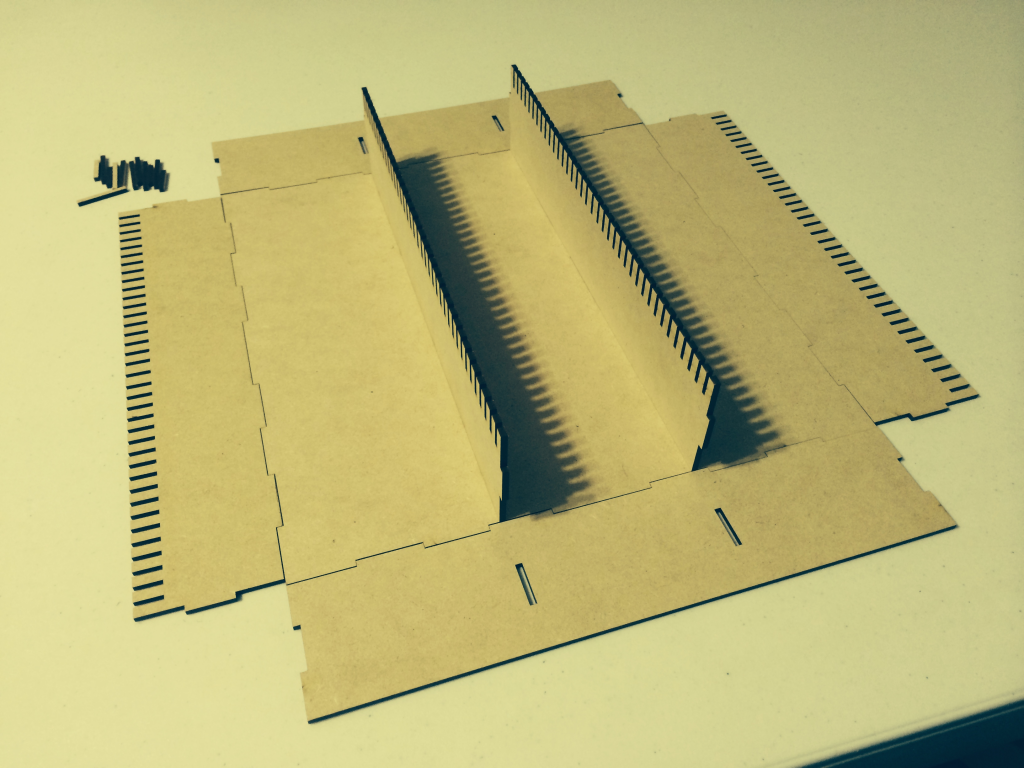
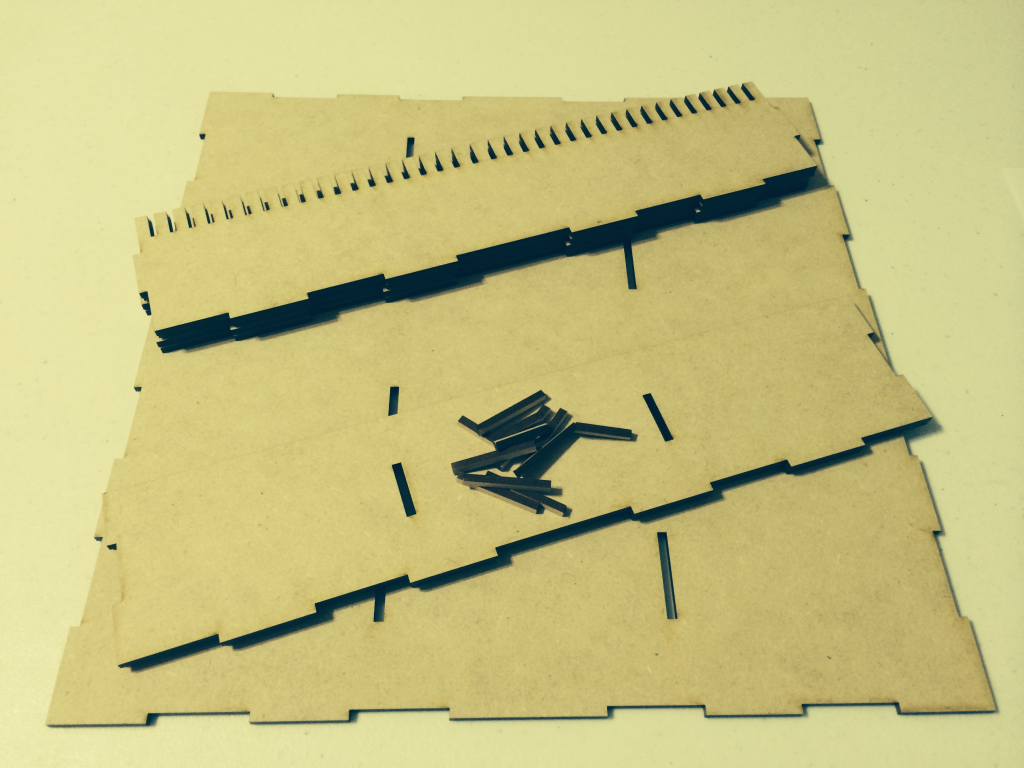
Before you start gluing things, you should layout the pieces and dry fit them so you have a good understanding of how they go together. This is Golden Rule #1. This will help you avoid mistakes such as glueing the wrong side of a piece. Once you dry fit your insert, you can lay the pieces out in their approximate positions as a reminder of what goes where. It helps! When we produce a insert, we produce the entire box from the same sheet of wood to ensure that color and finish match.
Next, pickup the base of the insert and drop it into the box that will soon be home to your new insert. Does the bottom of the insert fit? If not, stop. Your box is not large enough. Why? Great question. Send us feedback via the contact page or email us at go7 [at] pobox.com with the game name and the insert model and let’s see if we can figure out what’s going on together. If the base drops into the box and lays flat, you are all set. There should be a small bit of free space with the insert in the bottom of the box to move the insert bottom around in the box (but there won’t be much spare space.)
Build from the Inside Out
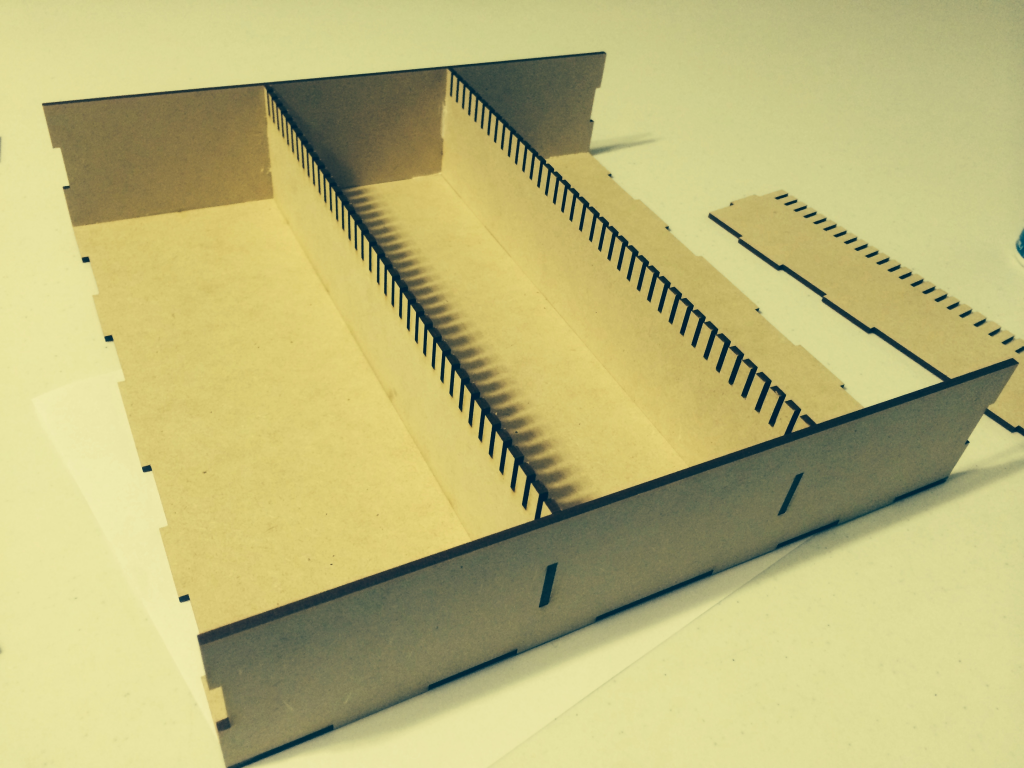
This is Golden Rule #2 and it applies to all of our products. You should always place inner walls and pieces first and build out towards the outer walls of the insert.
You can clean up the extra glue that gets squeezed out of the joints as your build with the small wood sticks you punched out of the insert.
LGC-002 Insert: The LGC-002 has a “H” internal structure. You should build the inner “H” and then glue it to the base. Placing the small center lane walls in the LGC-002 is very challenging after you have glued one or both of the long inner walls into the base.
Walls
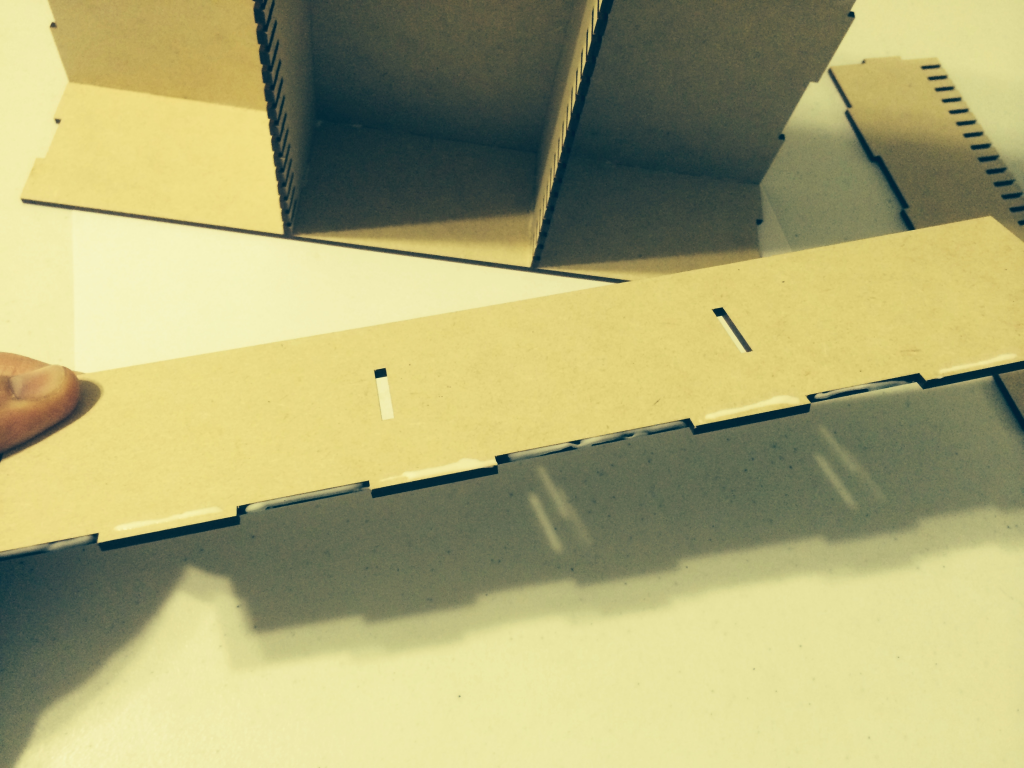
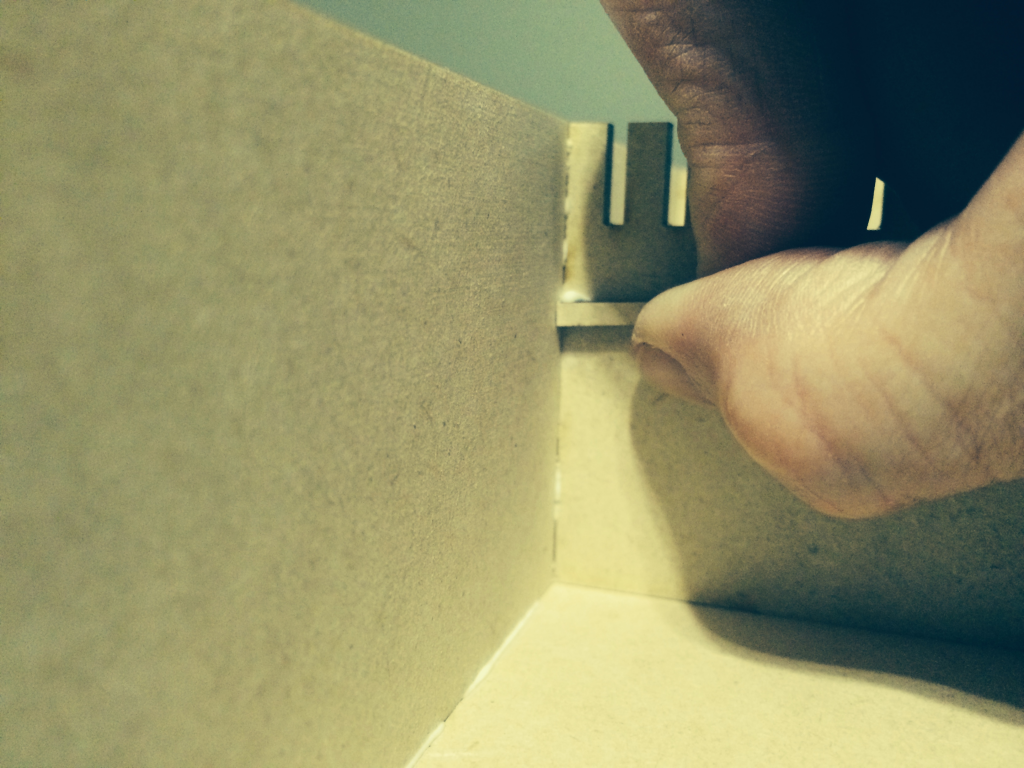
Once you have glued the inner walls to the base, you should start by attaching the walls that connect to the small finger joints of the inner walls. This will provide support for the walls as you continue to add them. Once these walls are attached, finish by attaching the two remaining walls. When selecting how to place your outer walls, you should face the clean sides inward since you will never see the outer insert walls again once you drop the insert into your box.
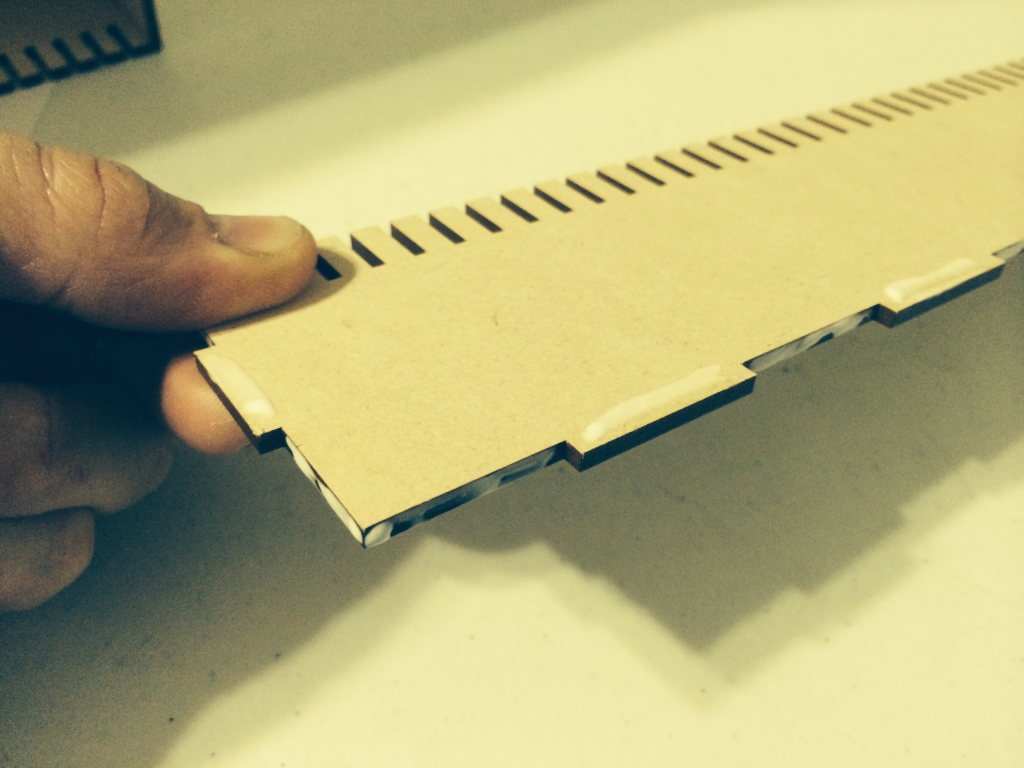
I’m a big proponent of glue. Each available joint surface should get some glue. This approach creates a strong insert that will withstand a lifetime of use.
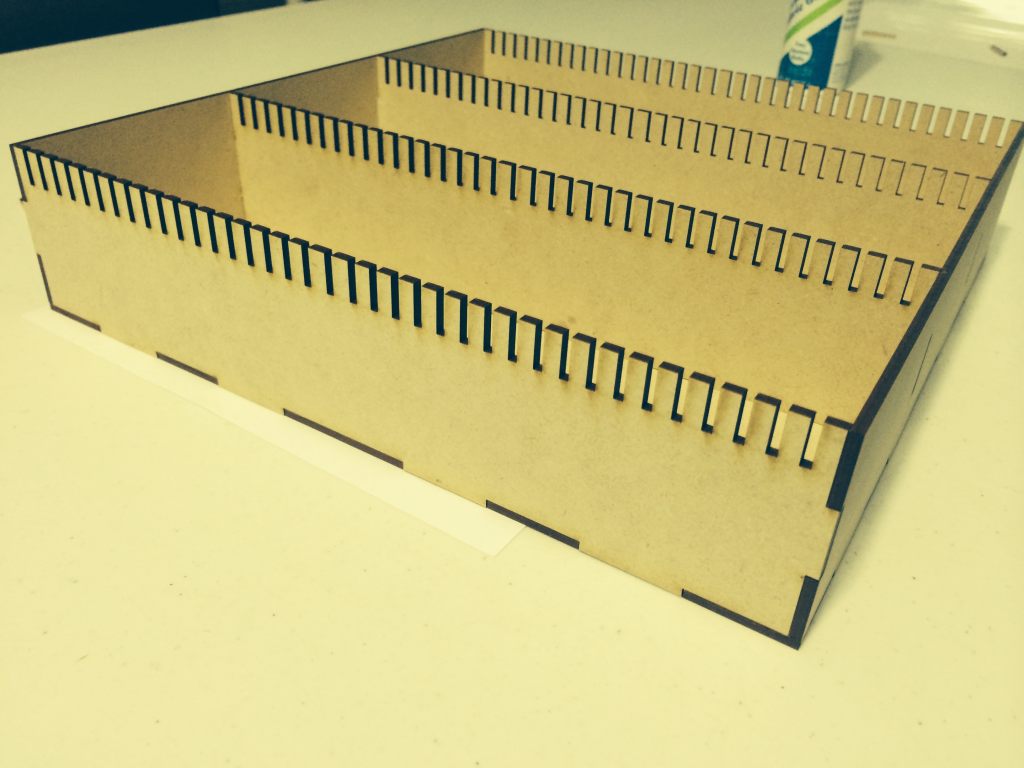
Placing the Insert
Once you have allowed the glue to dry overnight, remove all contents from the box where you want to place the insert, and then slowly and carefully slide the insert into the bottom of the box. Your finished insert should be square and have uniform walls. The finger joints used to join the pieces should be level with the wall the joint joins with. Basically, when properly constructed, your insert should form a box with no open seams
If the insert is obviously larger than the box, don’t force as this will split the corners of the box. Our inserts are designed to fit snugly into various manufacturer’s boxes, but sometimes a manufacturer may change the box design. Be mindful of this possibility. As you slowly push the insert into the box, you will experience some resistance, which will require you to proceed by gently pressing on opposing walls of the insert, until the insert is firmly seated inside the box.
Sometimes, the printed paper that wraps around the outside of the box and into the inside of the box will provide resistance. Gentle, but firm pressure applied to each side of the insert, in turn, will slowly slide your new insert into the box.
All done! Now load your insert with cards, bits, and other goodies and enjoy storage heaven…

